
 Hi there! I made a new linoleum carving that I stamped onto a simple signature book that ANYONE can make. It's very easy! You can do it, too :)
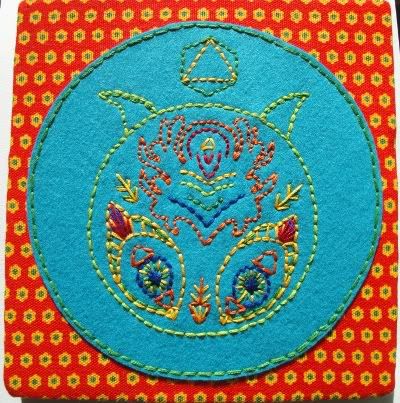
First, you always start with a drawing. I drew this guy:
 Next, you find yourself a piece of tracing paper, and trace away:
From this point, what I like to do is place this drawing pencil side down onto a block of linoleum. To transfer the image, simply draw over the backside of the drawing... as in this picture:
Now the FUN part, carving!! Be sure to use a proper carving tool, such as a Speedball carving tool (which has a bunch of different cutter sizes):
 Once I finish carving, as you have probably noticed, I eventually do away with those extra little designs on the outside of the triangle. I wasn't feelin' it, but it's ok, because you just carve it away. Just be careful, it's VERY easy to mistakenly carve something you don't mean to!!
For this print I will use Speedball block ink.

You can use a small brayer for this. I roll the ink onto a piece of tracing paper laid onto another piece of paper. You want to have enough ink on the brayer so that it has this sort of textured look to it:
 Roll up your carving, ensuring it has the same textured look. Then, press down firmly onto paper.
So here's what my finished carving looks like (I even cut the block down) and a test stamp to see if I liked it.

 Now that the image is established, we can move onto making the signature book. To be continued..


